Enjoy teaching plants, their parts, structures and functions! These hands-on activities will immerse kids in seeds, flowers, roots, stems, and leaves. Your third, fourth, and fifth grade students will love them (and so will you)!
Posts on this website follow a teaching journey and are written in story form.
Teaching Plants Parts, Structures and Functions with Ms. Sneed
Our favorite fourth grade teacher sat at the side table with her teaching partner. “As always, I’m ready to get down and dirty with plants and their parts,” she said.
Mr. Frank grinned. “One of my favorites.”
After he opened his laptop, he clicked over to their life science standards and read aloud:
NGSS 4-LS1-1 Construct an argument that plants and animals have internal and external structures that function to support survival, growth, behavior, and reproduction.”
Next, he pulled up their favorite unit for teaching plants, their structures and functions.
“Hey, look! The author has broken it into four parts and expanded each one.”
“What?” Ms. Sneed spun around to look at the screen. Sure enough, four separate resources now covered specific plant parts, their structures and functions:
- Seeds, germination, and dispersal
- Flowers and pollination
- Roots, stems, and circulation
- Leaves and photosynthesis
“Fantastic!” Ms Sneed exclaimed. “In the new version, the structures and functions are obviously linked. Only one catch: We’ll have a bit more planning to do.”
“Wait just a minute,” said Mr. Frank. “I just found a ten-day schedule in the bonus file.”
“Woohoo! Now let’s get out our plan books and get started. Teaching plants will be a blast this year!”

Begin Teaching Plants with Seeds and Germination
“As we did in the past, we’ll begin teaching plants with seeds. First, kids will observe and draw monocots and dicots. This will familiarize them with parts of the seed. Second, they’ll set up their baggie gardens. That way, they can observe germination for several weeks while we continue our study,” Mr. Frank began.
“Would you like to germinate seeds on your bulletin board this year?” asked his co-teacher.
“Of course! It makes such an engaging display. Additionally, I’d like to have my students write sequence paragraphs.”
Ms. Sneed nodded. “Me too. As always, integrating ELA makes a better learning experience.”

Second, Explore Seed Dispersal
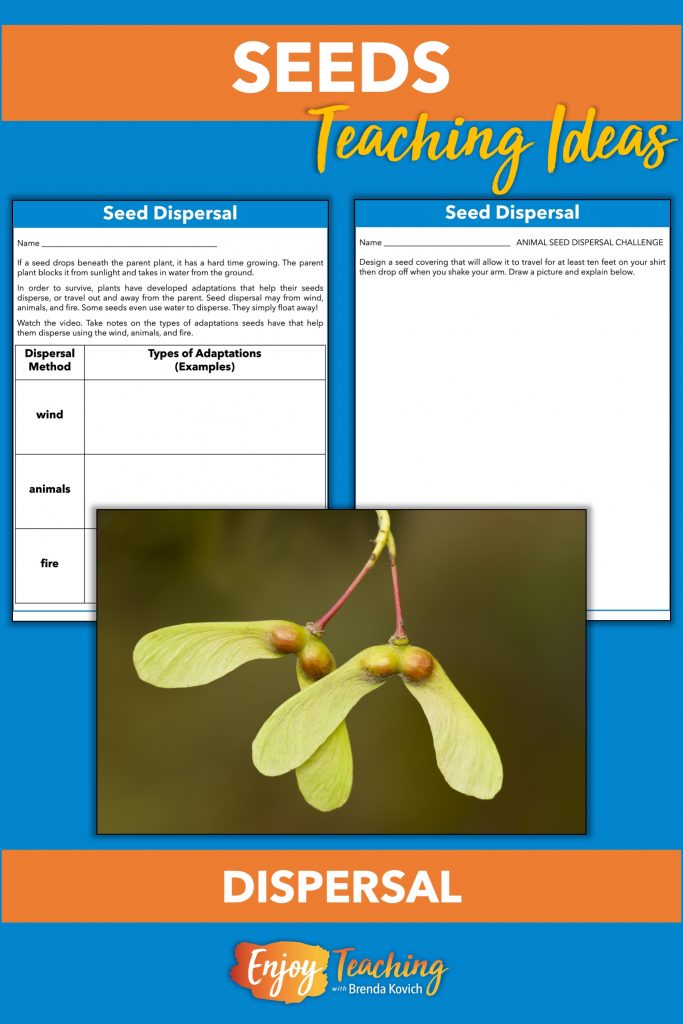
Ms. Sneed looked back a the schedule for teaching plants. “Next up,” she said, “seed dispersal. First, kids watch a nature video and take notes. As you can see, they explore how seeds disperse through wind, animals, and fire.”
“I like the way the activities vary,” Mr. Frank commented. “Second, they can participate in one or two seed dispersal STEM challenges. One project asks them to design a seed that sticks to their shirts. For the other, they build a prototype that sails through the air.”
Both teachers smiled. Yep, these activities would really engage their students.
Continue Teaching Plants’ Parts with Flowers and Pollination
“Now,” said Mr. Frank, “we’ll move on to flower parts and pollination.
“On the first day, we’ll read an informational text. Then we’ll show The Beauty of Pollination – Moving Art by Louie Schwarzberg. Wow, I love that movie! Every year, our kids ooh and ahh at the beautiful close-up footage of live pollinators.”
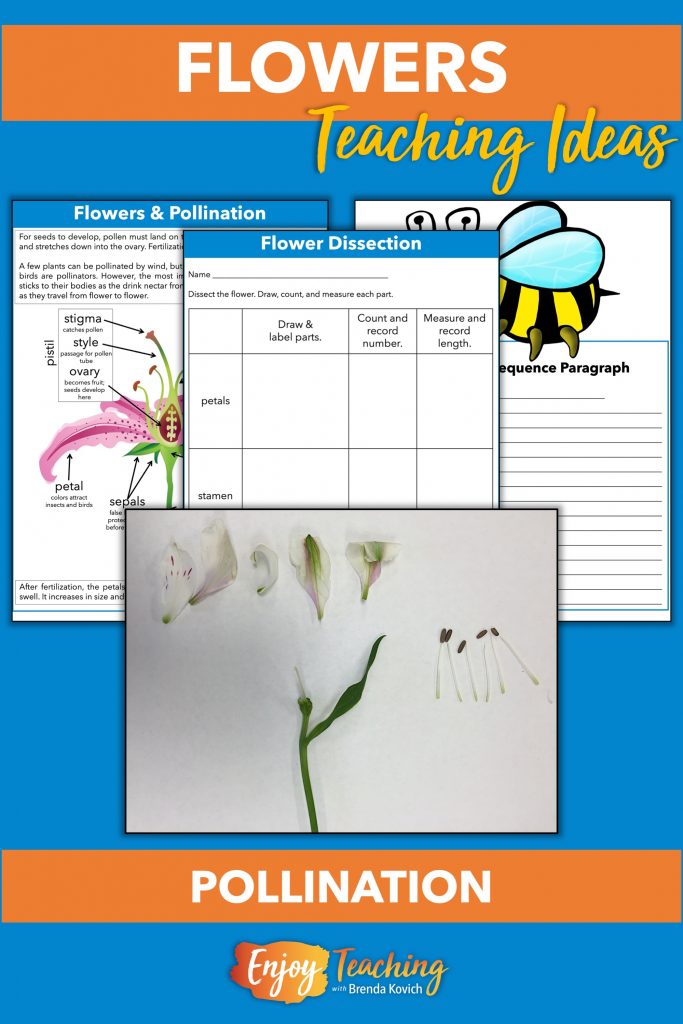
“Then, on the next day,” Ms. Sneed said, “we’ll do my favorite activity – flower dissection! Teaching plants at its best!”
“Afterward, let’s have them write one more sequence paragraph on pollination. That will drive home the functions of both the pollinators and plant parts. Additionally, it will pull ELA skills into our science block.”
Next, Explore Roots and Stems
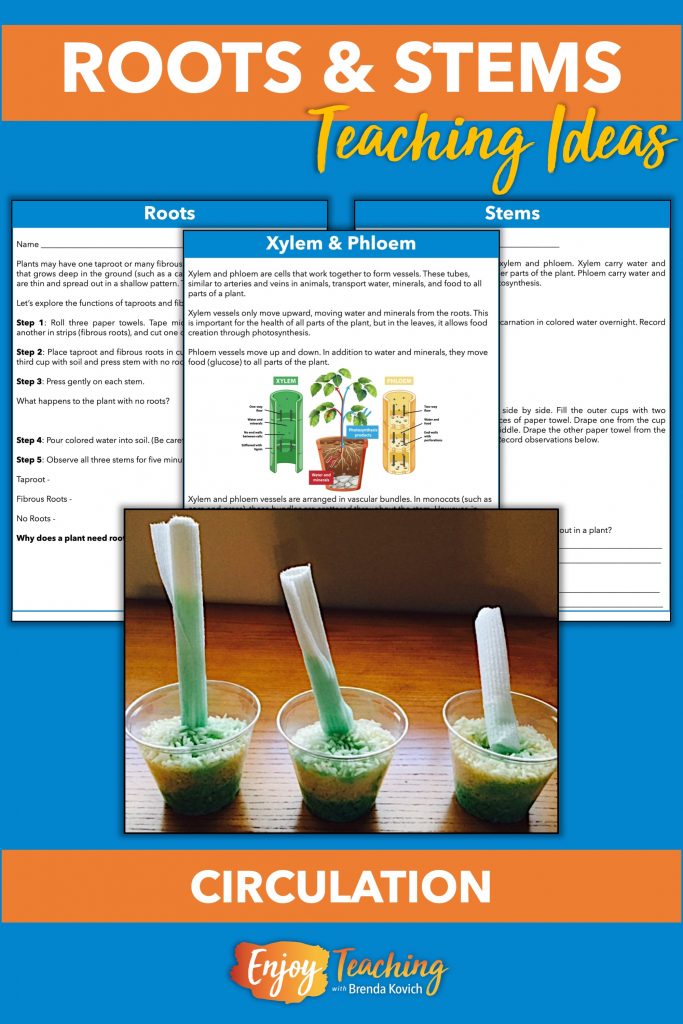
Mr. Frank scrolled down in the file. “On the sixth day, we’ll begin roots and stems. In the first activity, kids explore with a model. After rolling three paper towels, they use their scissors to create a taproot on one and fibrous roots on another. Then, they cut the roots off of the third. Next, they place them in a cup of rice or sand. Finally, they water them with colored water.”
“Aha,” said Ms. Sneed. “I can see from the photo that the paper towels with roots absorb water. However, the other one doesn’t. Obviously, that’s a great method for teaching plants’ need of roots for one function: absorbing water.”
Mr. Frank nodded. “Not only that, they can clearly see a second function. When they give each stem a little push, the plant with no root topples over.”
As he scrolled down further, Mr. Frank pointed out two more activities. “Here, we’ll conduct a super simple experiment. Overnight, we set a carnation or celery in colored water and observe its tubes the next day. Then we can use paper towels to illustrate how absorption works.”
Finally, he stopped on a colorful informational text. “And here, kids take a deeper dive into parts and functions. This informative article explains xylem and phloem.”
Finally, Teach Parts of a Leaf and Photosynthesis
Mr. Frank sat back and sighed. “Obviously,” he said, “when we get to leaves, we have to teach photosynthesis.”
“Yikes,” Ms. Sneed responded. “Always a tricky proposition in fourth grade. However, we’ve done it before. As usual, we’ll begin with an introduction to cells and organelles. Additionally, we’ll have to address chemical reactions. Although these are fifth grade concepts, we can provide simple previews.”
Once again, Mr. Frank sighed. Then he nodded. “You’re right. Clear and simple. Fortunately, the unit includes some straightforward information sheets.”
The two teachers looked at the screen.
“Next,” Ms. Sneed said, “it looks like we’ll explore the anatomy of a leaf. In all my years teaching plants and their parts, I never did this. Pretty sophisticated. But doable.”
“And look at this!” Mr. Frank exclaimed. “Students can use small objects or candy to simulate atoms in the photosynthesis process. Wow, this is high level for our kids. What do you think?”
As he glanced at his teaching partner, he had his answer. That slow teacher smile spread over her face. “You bet!” she said. “We don’t have to take a deep dive into chemistry. But this exercise will provide a great background experience. Then, a few years in the future, they’ll grasp chemical change much better.”

Enjoy Teaching Plants
In no time, the two teachers finished their lesson plans for teaching plants. “Never in my wildest dreams,” Mr. Frank said, “did I believe our fourth grade students could explore parts and functions with so much sophistication. Stuff like this makes me feel so accomplished. And it makes me enjoy teaching even more.”


