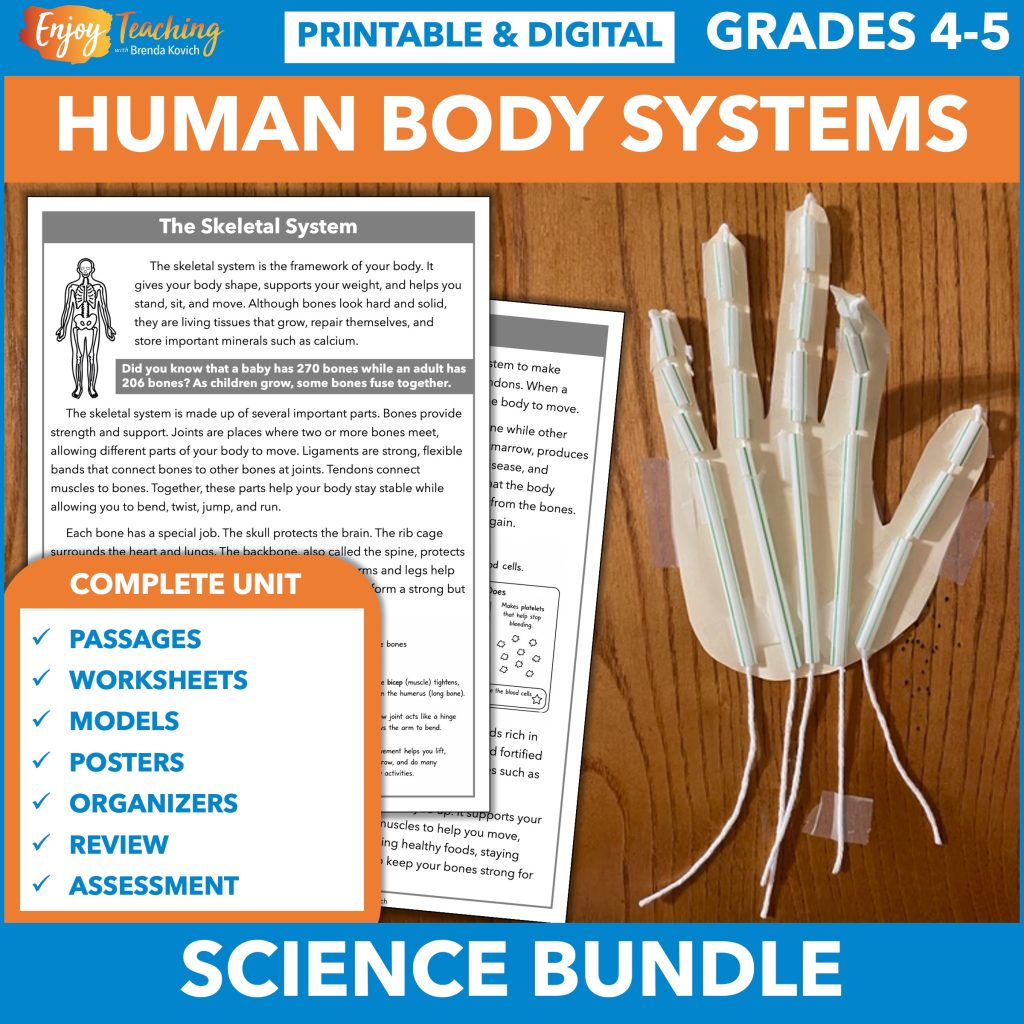
To learn how to build a respiratory system model, try these directions. Then add an information sheet and graphic organizer. They make teaching body systems as easy as 1-2-3!

Posts on this website follow a teaching journey and are written in story form.
Ms. Sneed Teaches the Respiratory System
Our favorite fourth grade teacher sat at the side table with her teaching partner. “Using models to teach science concepts is working out great in my classroom,” Ms. Sneed said.
Mr. Frank nodded. “Agreed. Let’s keep using them as we finish up our anatomy unit. We’ve already used body systems models to teach the circulatory, digestive, immune, musculoskeletal, and nervous systems. Now it’s time to plan for the respiratory system.”
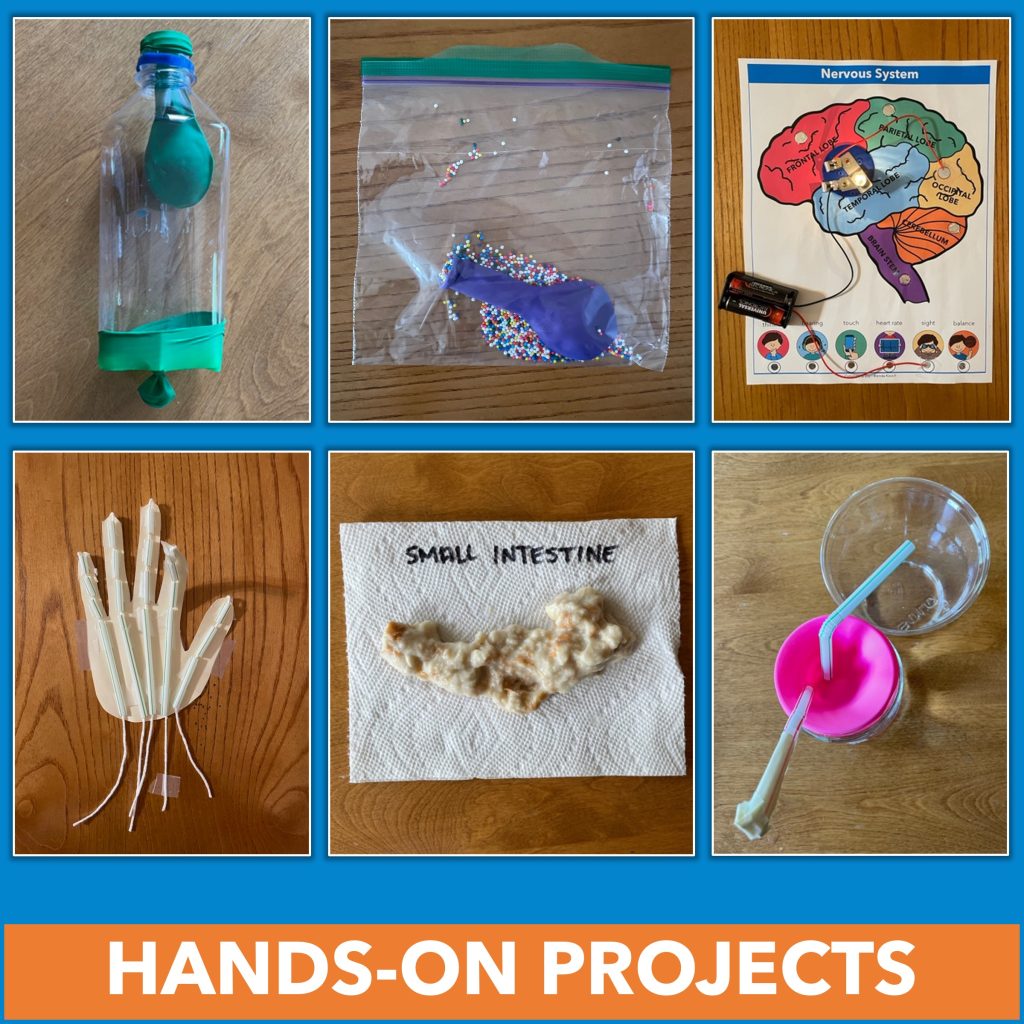
Building a Model of the Respiratory System
“Let’s get started,” Ms. Sneed said. “As usual, why don’t you read over the directions. And I’ll gather the materials for the respiratory system model.”
Materials
Ms. Sneed walked to her science closet and opened the door. From it, she gathered:
- a plastic bottle
- two balloons
- scissors
- a utility knife

Steps
Next, as Mr. Frank read the directions, she built the model:
- Cut off the bottom of the plastic bottle.
- Tie the narrow end of the balloon. Then cut off the top third of that balloon.
- Feed the other balloon into the bottle top; pull the narrow end over the bottle top.
- Stretch the bottom of the cut balloon over the bottle bottom.
“Okay, let’s try it out!” Ms. Sneed exclaimed.
Mr. Frank continued with the directions: “To simulate breathing, pull down on the “diaphragm” (knot). The “lung” will inflate.
As Ms. Sneed pulled down on the knot, the inner balloon inflated. She shrieked with delight. “Wow!”
“Not the entire respiratory system,” Mr Frank said. “However, it’s a good simulation of the lungs”
Learning About the Respiratory System
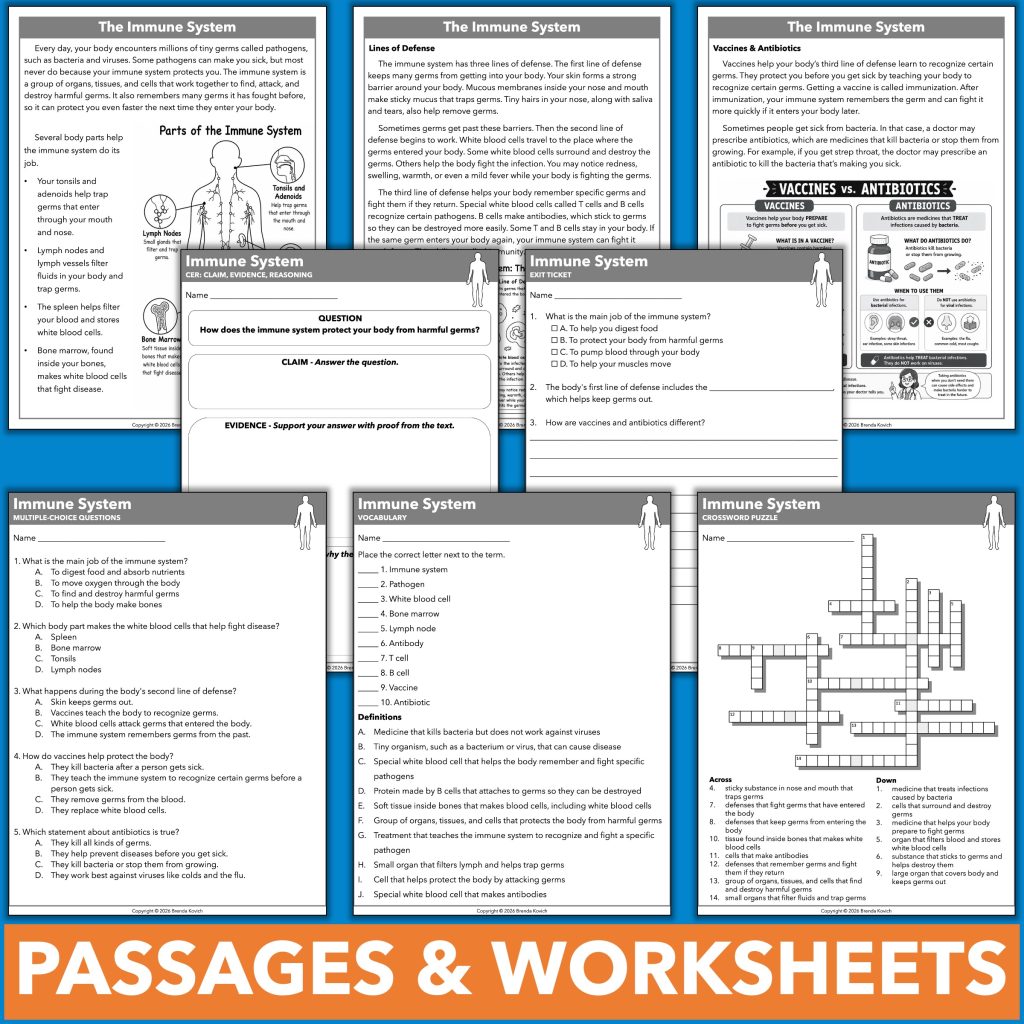
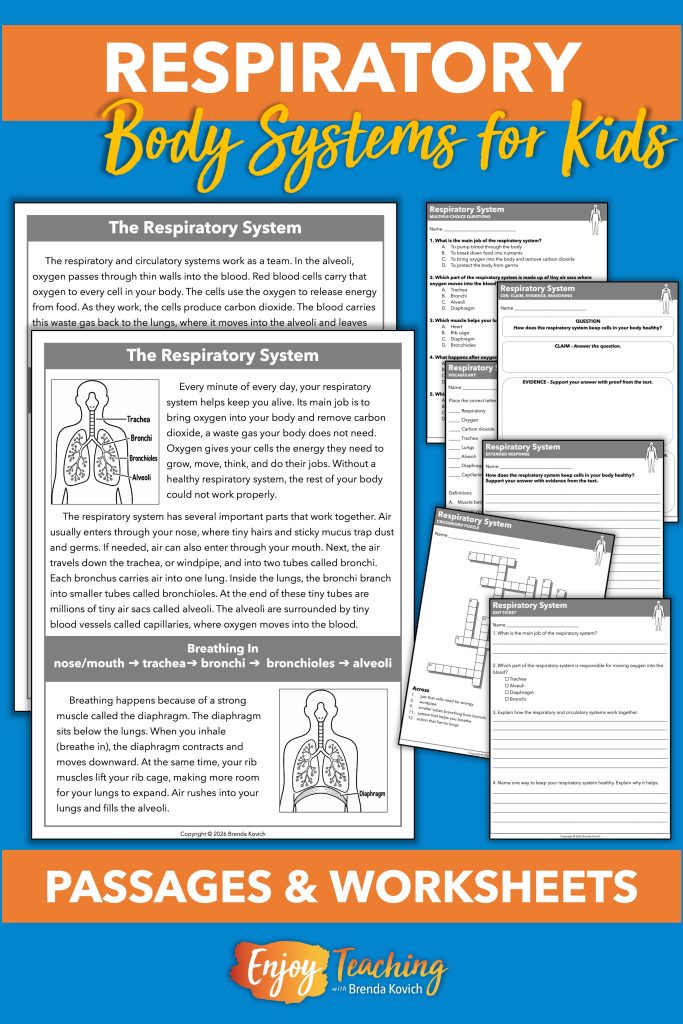
He returned to the body systems unit. When he scrolled down, he found a set of reading passages and worksheets. “This informational text explains respiratory system in an age-appropriate way – and it’s differentiated for two reading levels. Activities include multiple-choice questions, a CER chart, an open-ended response sheet, a vocabulary worksheet, a crossword puzzle, and an exit ticket.”
“Just what we need!” Ms. Sneed responded. “Our kids can learn about health and science while practicing important reading and writing skills.”
Taking Notes
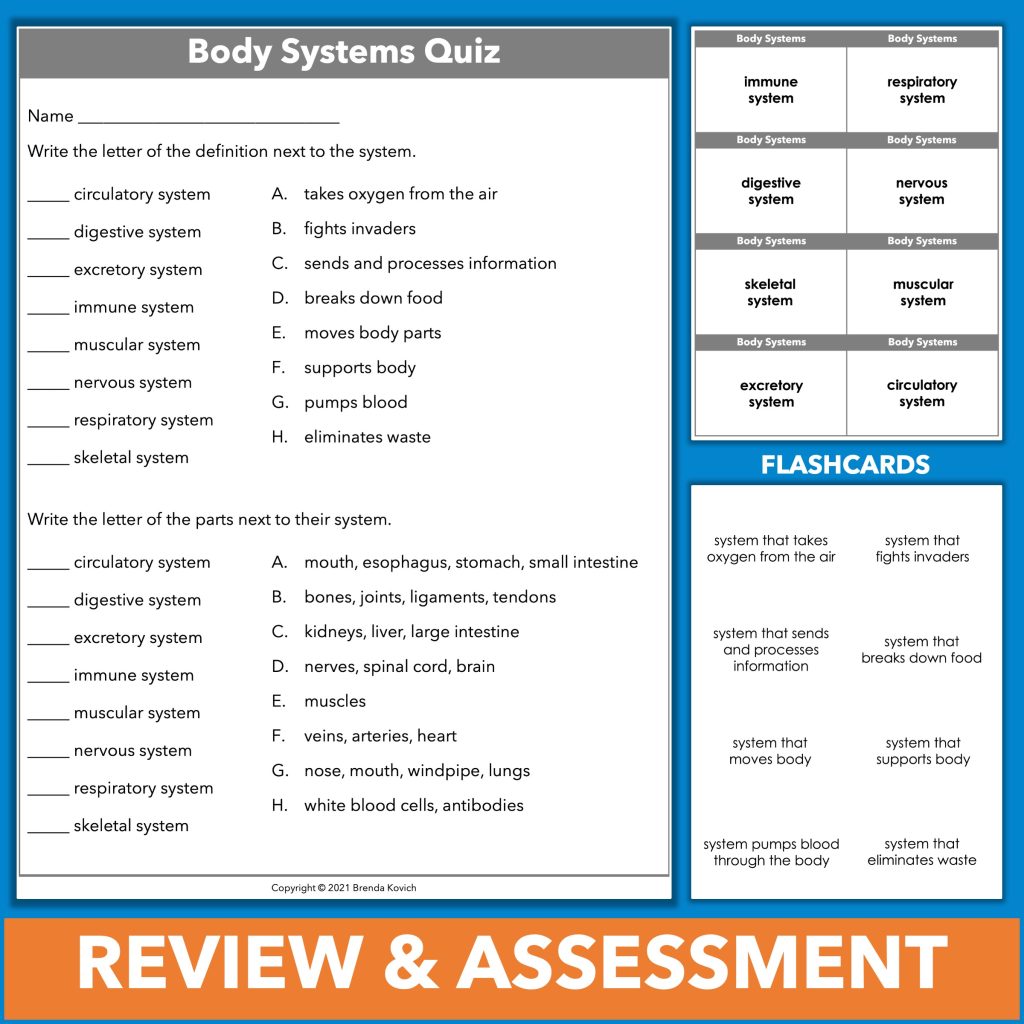
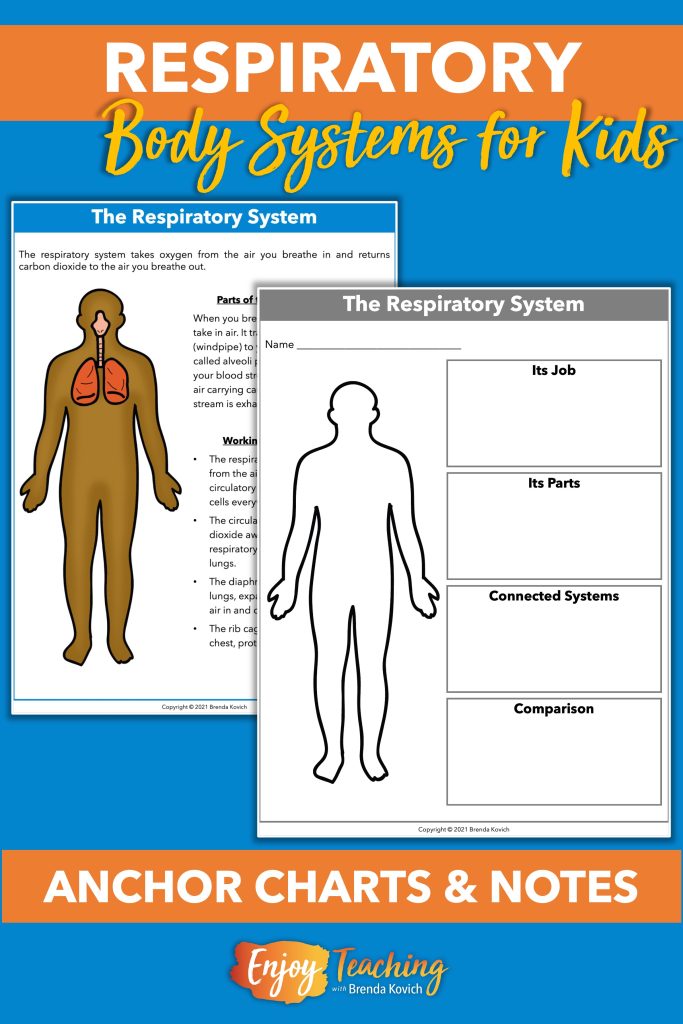
Mr. Frank scrolled further. “In addition, it has a one-page reference guide. It could be used as an anchor chart or a study guide,” he said. “A variety of graphic organizers let kids take notes.”
Enjoy Teaching Body Systems
Ms. Sneed smiled. These human body activities allowed her to enjoy teaching a little more. After all, teaching the respiratory system with DIY models, information sheets, and graphic organizers made it fun and effective. Furthermore, it gave her life science curriculum a little punch.
Why not bring some active learning into your class? Activities like this are sure to engage your students – and you!