
Follow my TPT store for updates.
Creating Digital Lesson Plans
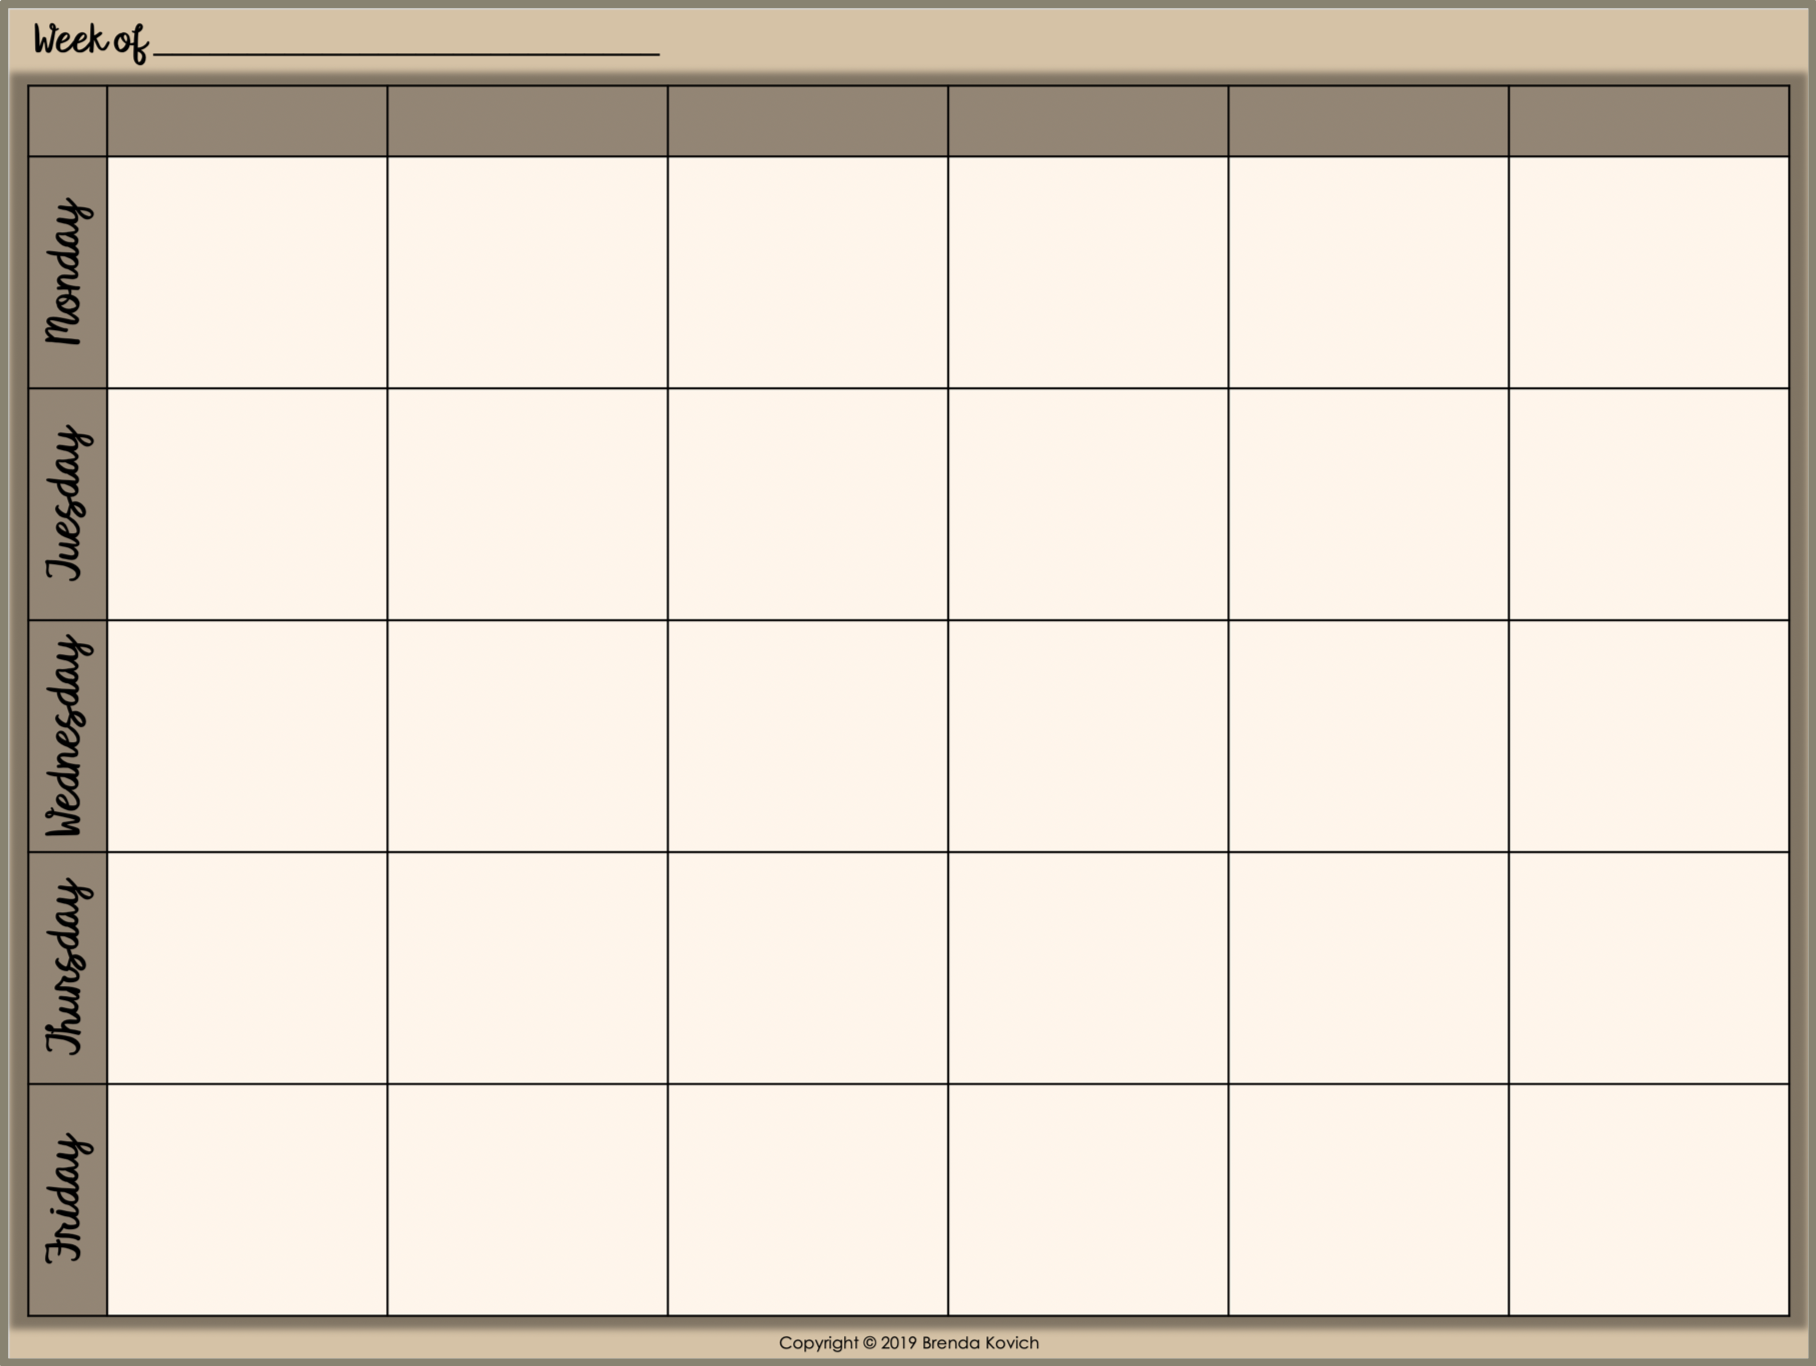
First, design a template. Then save it as an image. (I created this template by inserting a table onto a PowerPoint slide.)
Next, make a new Google Slide. (I made mine 4:3 for a longer page and matched the dimensions on the PowerPoint slide above.) From the Slide menu, choose Change background.

Change the background to your lesson plan template.

Insert a text box on top of one section. Format it so that your text is centered and small enough to fit. If you want, you may also change the font.
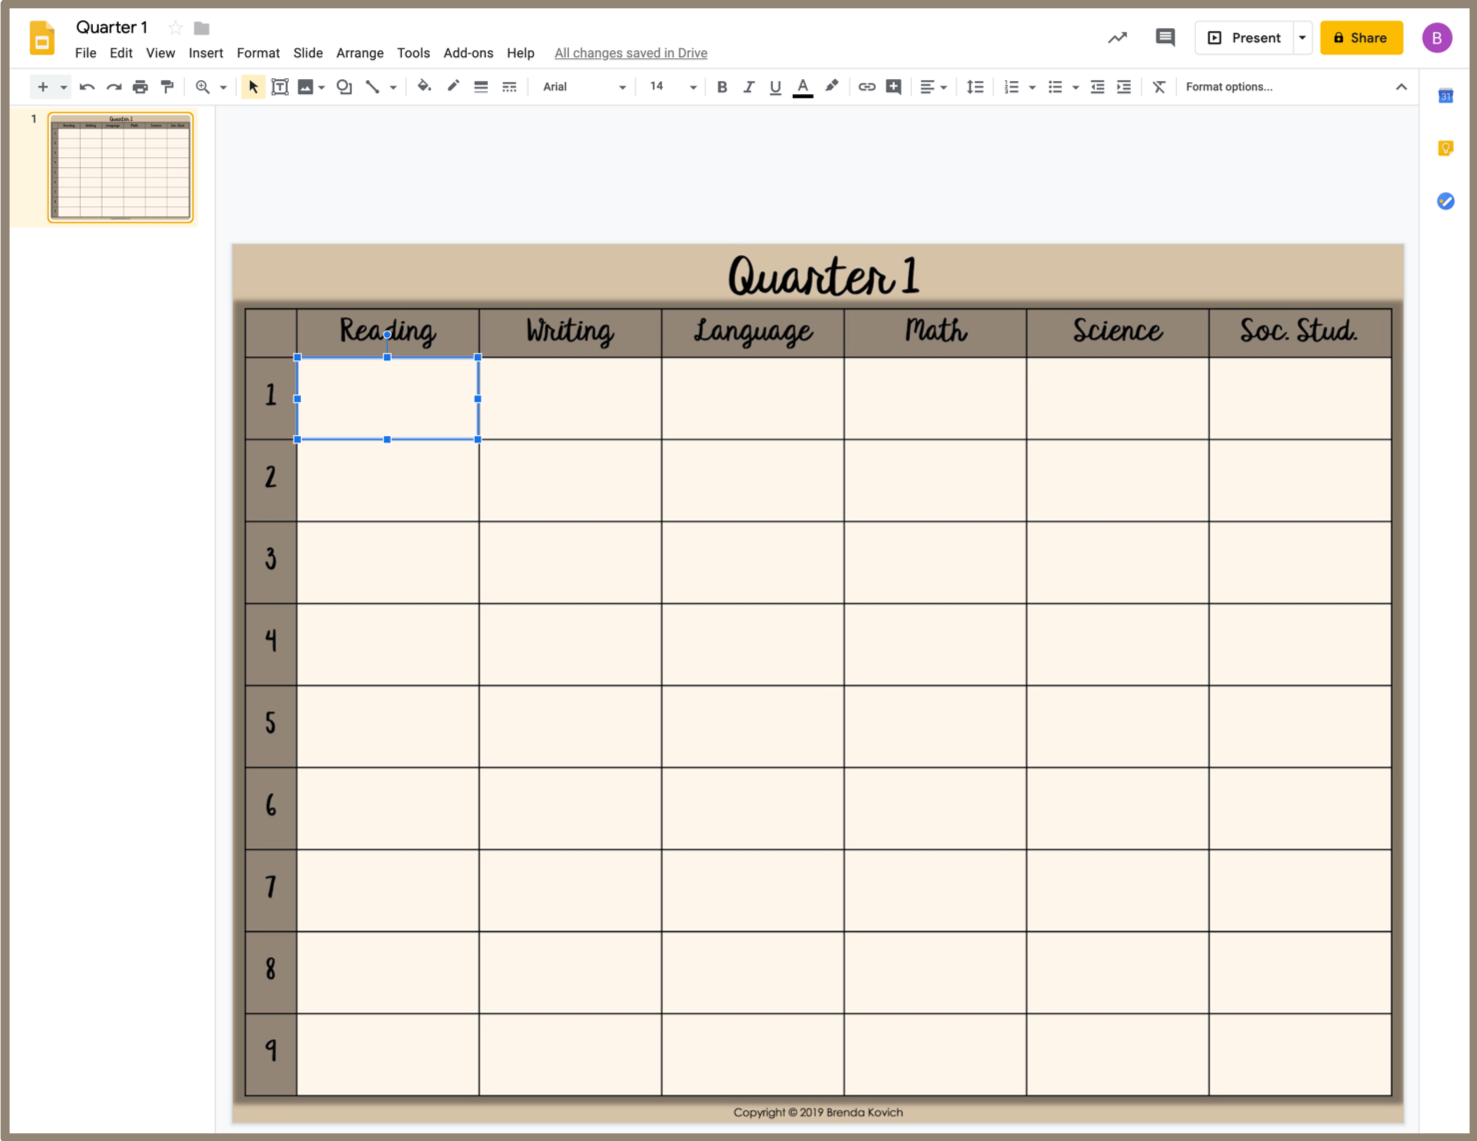
Copy the text box until you have enough to cover one column. Then select all text boxes in the column. (With Google Slides, you can select multiple objects by holding down the shift key.) Copy and paste to fill the other columns.

Under the File menu, select Make a copy. Copy and rename the blank template for every week of the school year.
What’s the beauty of these digital lesson plans? Because you’ve typed into individual text boxes, you can move plans easily: just click and drag.
Viewing Lesson Plans in a Google Site
For a polished look – and to share with others – build a Google Site. First, go to your Drive. Click New. Then More.

Just tap Google Sites – and that’s it! You’ve created a website.

Customize the site with colors and graphics that reflect your style. Under Pages, use the plus sign to add pages to your website. Reorganizing them is as simple as dragging and dropping.

Now add your lesson plans to the site. To do this, go to the Insert menu. Click From Drive and select the file.

This way, your lesson plans may be viewed on your site – but only changed in your Drive. It’s the perfect way to share your plans with your principal, colleagues, and subs.

Building It into the Ultimate Teacher Dashboard
Seriously, this site can hold all of your teaching needs. My home page, for example, features my daily schedule and seating chart. And on another page, I’ve attached my long-range plans.

Google Sites Organize Teaching
Google Sites can organize your teaching life. They’re great for coordinating lesson, unit, subject-area, curricular, long-range plans, and sub plans. Student information can be managed through portfolios, seating charts, and behavior logs. Try Google Sites today!