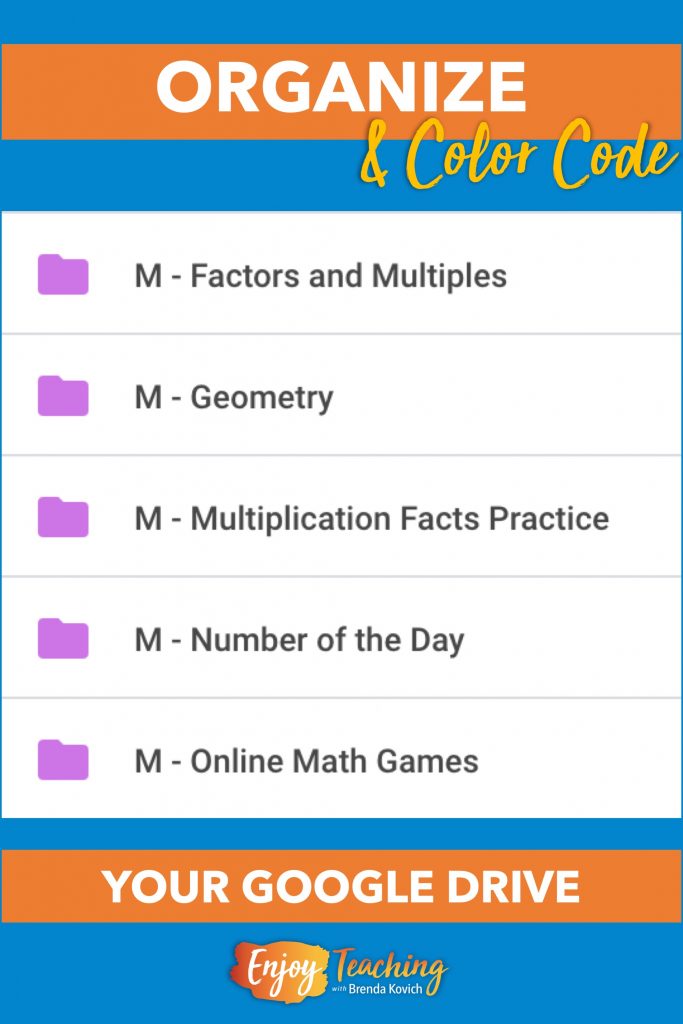
Teachers, are you wondering how to organize Google Drive? First, select a set of letters to represent each of the broad areas you teach. Second, create a folder for each unit of study or standard in each of those areas. Third, color code them.
Posts on this website follow a teaching journey and are written in story form.
Ms. Sneed’s Google Drive Is a Hot Mess
Our favorite fourth grade teacher, Ms. Sneed clicked and clicked. Then she searched. Sighing deeply, she put her head in her hands. “Where is it?”
“Where is what?” Mr. Frank asked as he walked through her classroom door.
“I can’t find the geometry lesson I want to use tomorrow,” his teaching partner whined.
As he walked toward her computer, Mr. Frank recognized the problem right away. “OMG. Are those your files? You, my dear, need to organize Google Drive.”
Ms Sneed shuddered. “Help! I really have no idea how to do it.”
First Step: Choose Abbreviations
Mr. Frank pulled out his Chromebook. “Check this out,” he said.
Ms. Sneed shuddered again. “What? Yours is so neat – and pretty! Please show me how.”
“Okay, I’ll show you how to organize Google Drive.” Then, with a wink and a grin, he added, “Now you can’t say that I never helped you organize your classroom!”
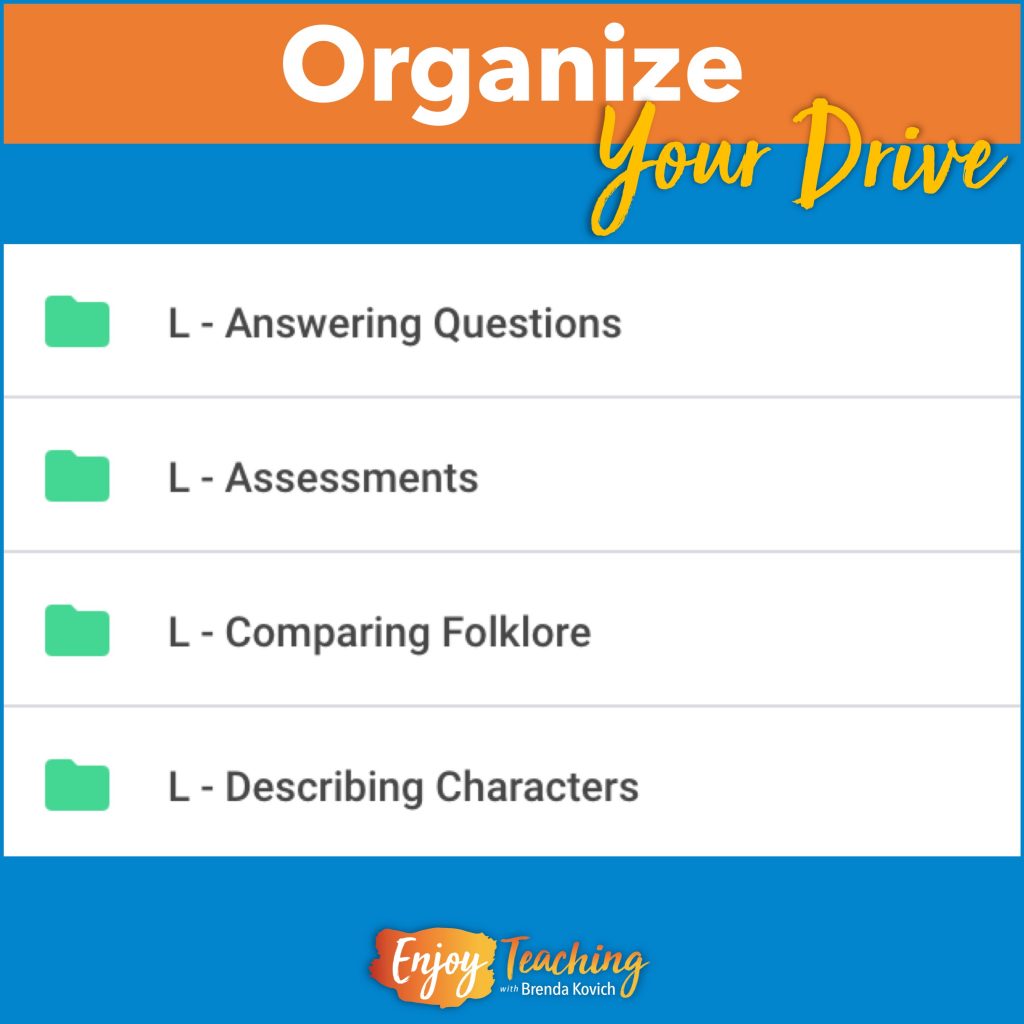
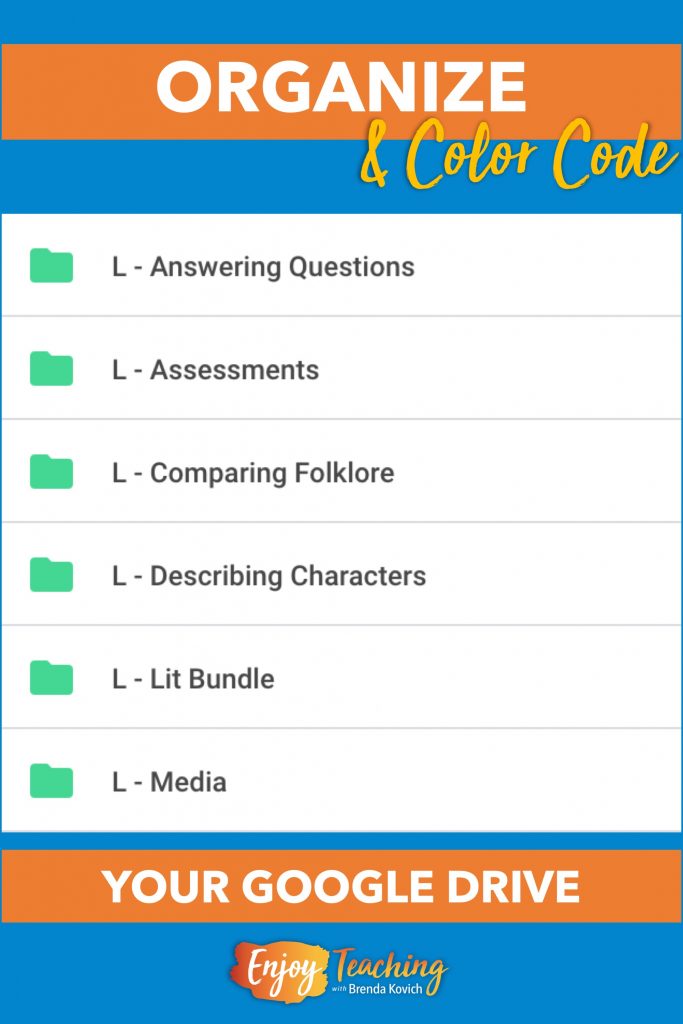
Pointing to his Drive, Mr. Frank continued, “Before you do anything else, decide on some abbreviations. Here you see that I’ve chosen L for literature. When you use a short abbreviation, all files for that subject stay together. Why? Because it’s alphabetical. Furthermore, you can find it more easily.”
“What about language?” asked Ms. Sneed. “It starts with “L” too.”
Mr. Frank scrolled down. “I chose LA for that subject. See how they’re all together?”
Ms. Sneed’s face brightened up. “I’m ready to do it!”
Second Step: Create Folders
“See the plus button that says New? Click that.” Ms. Sneed followed his directions.
“Now click the first option in the dropdown menu. This is how to organize Google Drive: in folders.”

Third Step: Color Code
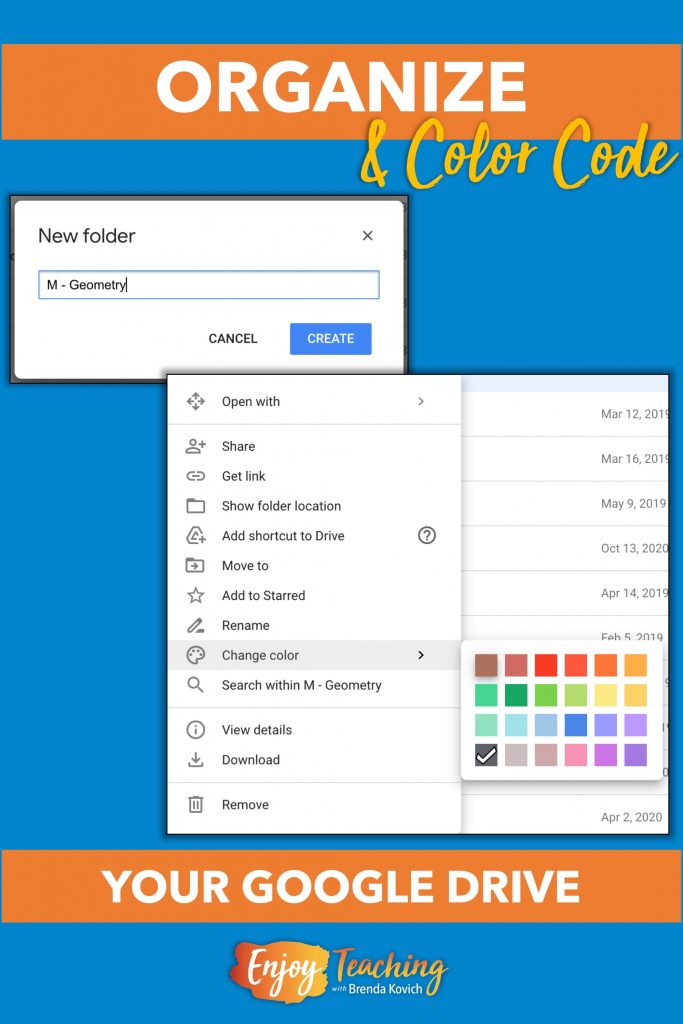
Another box popped up. “I assume I give my folder a name,” Ms. Sneed said. “I’ll call it M – for math – Geometry.”
Stopping for a moment, Ms. Sneed looked up. “Okay, I get how to organize my Google Drive. But how did you get the pretty colors?”
“Easy. First, hit the CREATE button.” Mr. Frank pointed to the screen where the new folder had been created. “Now right click. See the option to change the color?”
Ms. Sneed grinned. “Pretty colors! You know what I always says, it’s the simple things in life that make a girl happy!” She chose a vibrant fuchsia from the bottom row.
How to Organize Google Drive – It’s That Easy!
Quickly, Ms. Sneed began to create additional math folders. “I’ll just pull some of these files into my new folders,” she said. As she dragged them in, her long, messy list of files shrank to something more manageable.
“Hey! Look!” Ms. Sneed cried. “I just found the file I need for tomorrow!”
“Now you know how to organize Google Drive,” Mr. Frank said. “For our next lesson, I’ll teach you how to make a seating chart with Slides.”
Then he slipped out as she happily continued her task. Soon, all of her files were stored in a neat column of color-coded files. Teacher feng shui. Being organized helped Ms. Sneed enjoy her job.